
First Site
Create your first Hwaro site in 5 minutes.
1. Create Project
hwaro init my-site --scaffold blog
cd my-site
Built-in scaffolds:
| Scaffold | Description |
|---|---|
simple |
Landing pages, small sites (default) |
bare |
Minimal structure with semantic HTML only |
blog |
Posts with tags, reading time, and older/newer post navigation |
docs |
Documentation with sidebar and prev/next page navigation |
book |
Book with chapters, prev/next navigation, keyboard shortcuts |
Every scaffold shares one design-token system built on CSS light-dark() pairs,
so each site automatically follows the reader's OS color scheme, light or dark, with no extra setup. The styled scaffolds also ship a
theme switcher in the header: it cycles auto → light → dark, persists the
choice in localStorage, and applies it before first paint so there is no
flash. To force one scheme permanently (a dark-only site), add
:root { color-scheme: dark; } at the end of the generated css/style.css.
The scaffolds also include a few modern touches: a sticky glass header, native
cross-document view transitions between pages, and (on blog posts and book
pages) a CSS-only reading-progress thread. All of it degrades gracefully on
older browsers and every animation respects prefers-reduced-motion.
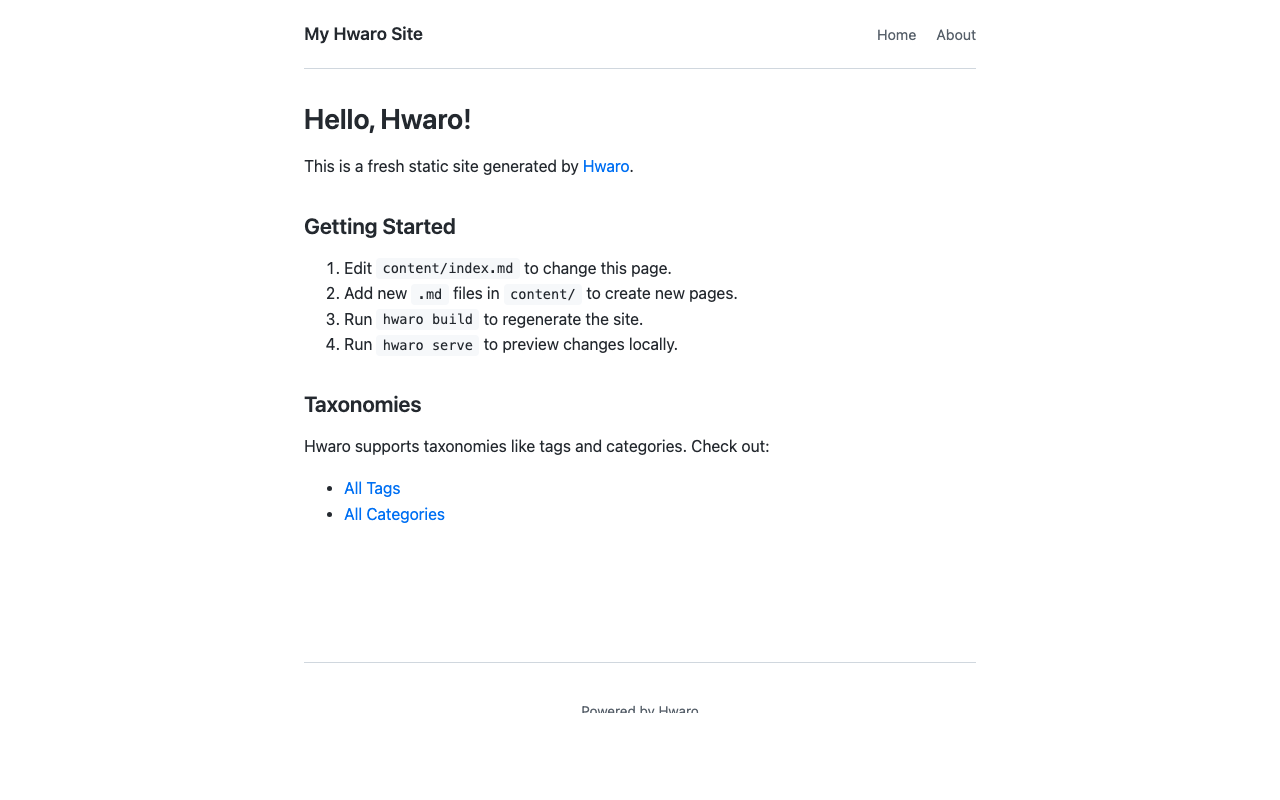
simple — Landing pages, small sites
bare — Minimal structure, semantic HTML only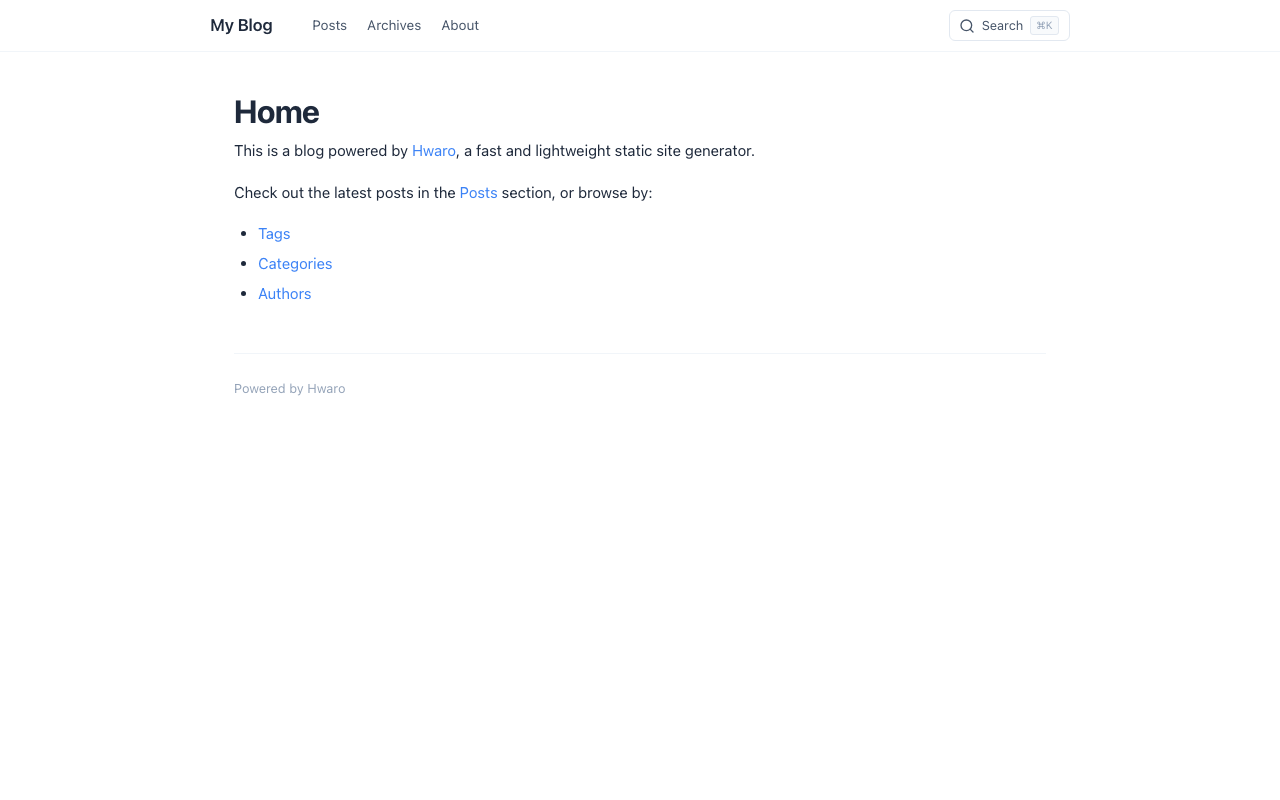
blog — Posts with tags and categories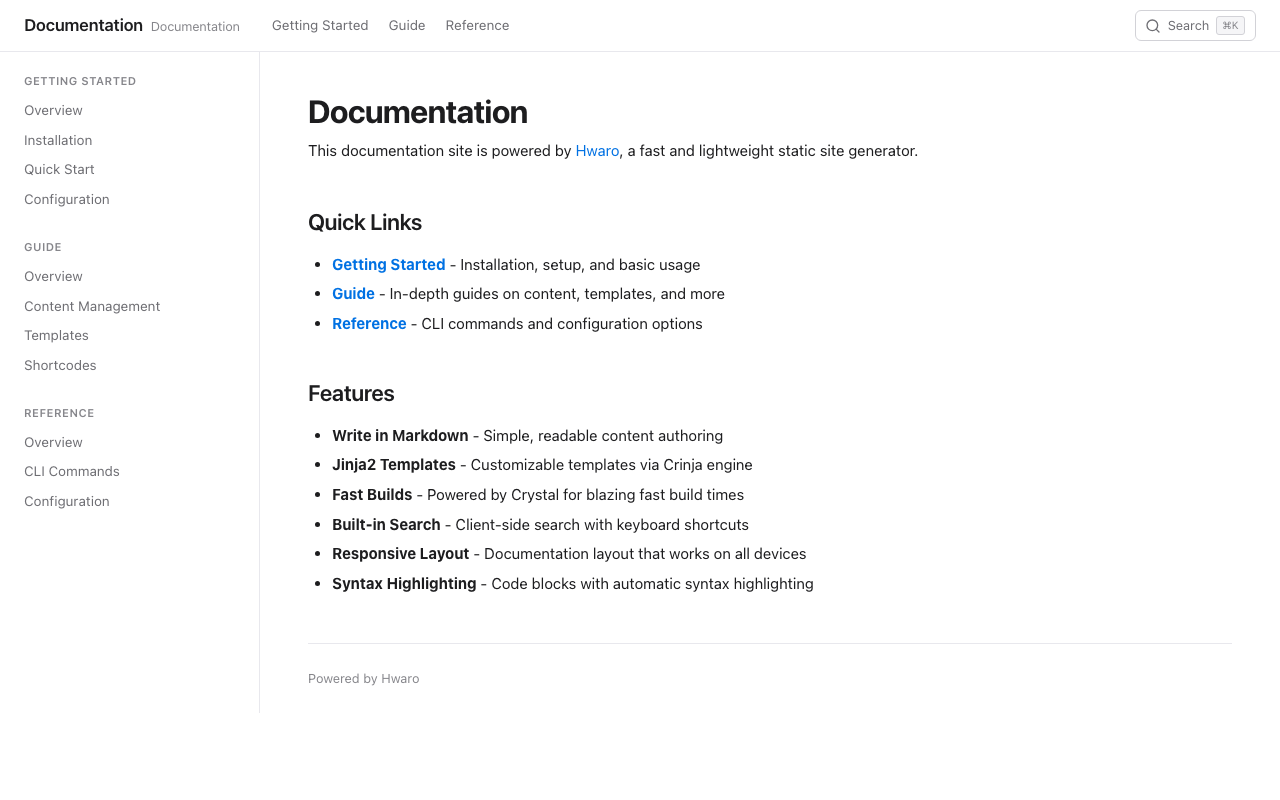
docs — Documentation with sidebar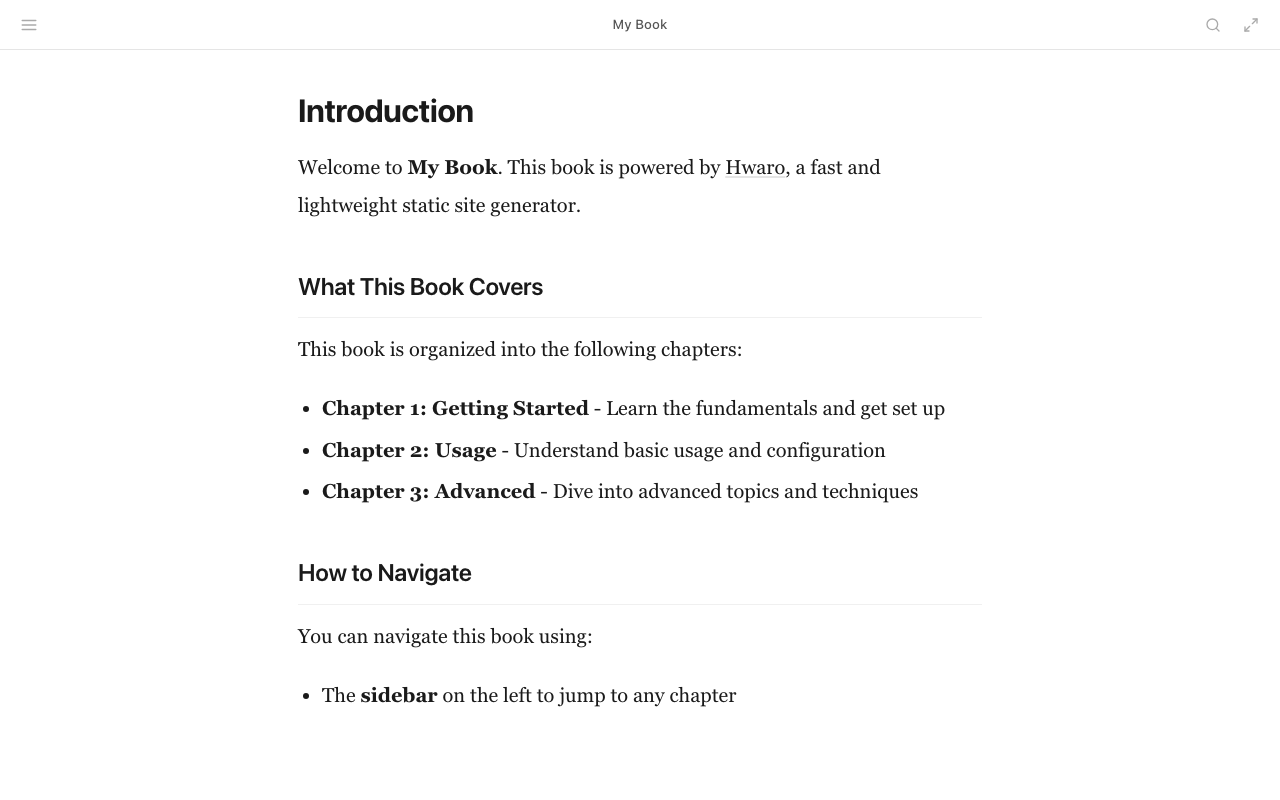
book — Book with chaptersTip: Looking for a more complete starting point? Check out the Hwaro Examples for ready-made boilerplates you can use right away.
2. Start Development Server
hwaro serve
Open http://localhost:3000. Changes reload automatically.
3. Project Structure
my-site/
├── config.toml      # Site configuration
├── content/         # Markdown content
│   ├── index.md     # Homepage
│   ├── about.md
│   └── posts/       # Blog section
│       ├── _index.md
│       └── hello-world.md
├── templates/       # Jinja2 templates
├── static/          # Static files (CSS, JS, images)
├── archetypes/      # Front matter templates for hwaro new
├── data/            # Optional: JSON/YAML/TOML exposed as site.data (CSV via load_data())
└── public/          # Generated output
Where files go
Two rules cover most of it.
data/ sits at the project root, next to config.toml, not under content/. Every file in it is loaded automatically and keyed by its filename, so data/team.json is available in any template as site.data.team:
{% for member in site.data.team %}
  <li>{{ member.name }}</li>
{% endfor %}
Subdirectories nest (data/users/alice.yml → site.data.users.alice). hwaro init does not create this directory; add it when you need it. See Data Model for the full rules.
Assets go in static/. static/images/photo.jpg is copied to the output as /images/photo.jpg, so you reference it with a leading slash:
{{ figure(src="/images/photo.jpg", caption="A photo") }}
Keep the leading / even when you deploy to a sub-path such as example.com/my-site/. Hwaro rewrites root-relative src and href values to include the base_url sub-path at build time, so the same content works in both places.
You can also keep an asset next to the page that uses it, inside content/, but that is opt-in. Enable Content Files first:
[content.files]
allow_extensions = ["jpg", "png", "svg", "pdf"]
4. Edit Configuration
Open config.toml:
title = "My Site"
description = "A site built with Hwaro"
base_url = "https://example.com"
5. Create a Page
hwaro new content/contact.md
Tip: run
hwaro newwith no arguments to open an interactive wizard that suggests a path and collects the title, description, tags, and more for you.
Edit content/contact.md:
+++
title = "Contact"
+++

Reach me at hello@example.com.
Visit http://localhost:3000/contact/.
6. Create a Section
Sections group related content. Create a blog section:
mkdir -p content/blog
Create content/blog/_index.md:
+++
title = "Blog"
sort_by = "date"
+++

My blog posts.
Create content/blog/first-post.md:
+++
title = "My First Post"
date = "2024-01-15"
tags = ["hello"]
+++

Hello, world!
Visit http://localhost:3000/blog/.
7. Build for Production
hwaro build
Deploy the public/ directory to any static host. See Deploy to GitHub Pages for a quick setup.
Optional: Build with an AI Agent
If you work with Claude Code, Cursor, Codex, or another skill-aware agent, Hwaro ships two Agent Skills that teach it how to drive the project you just created:
| Skill | What it does |
|---|---|
hwaro |
Runs the CLI properly (init, new, serve, build, doctor, and the content tools) using the --json output contract and HWARO_E_* exit codes instead of guessing from text. |
hwaro-design |
Designs and rethemes the site inside Hwaro's Crinja templates and light-dark() design tokens, under an anti-slop discipline that avoids generic AI-looking layouts. |
Install both with one command:
npx skills add hahwul/hwaro
Then ask the agent something like "add a projects section to this Hwaro site" or "retheme this blog to a warm dark palette", and it loads the matching skill on its own. See Agent Skills for manual install paths and per-agent directories, and AGENTS.md to record project-specific conventions the agent should follow first.
Next Steps
- CLI Commands — All available commands
- Configuration — Full config reference
- Writing Content — Pages, sections, taxonomies
- Agent Skills — Let an AI agent build and design the site
- Deploy — Hosting and deployment guides